It is important that the 4 ground layers are switched bwteen them to. The led cube 4x4x4 has a total of 16 transistors are used to switch on the led columns and then another total of 4 lines to switch on or off the ground layer. Cube is a very interesting project and simplest except the coding part.
4X4X4 LED cube Light set 3D LED DIY Kit Electronic Suite
Use two rotary encoders to draw whatever picture your heart desires, and then shake it to erase the image — just like the real thing!
A while ago, when i first started using arduino, my first project was a 4x4x4 led cube, i built it from a guide i found here in instructables, i didn't know anything about programming, and little about electronics, yet i was able to build it and…
Choose from our 12 volt led selection. In this project, we are going to make an led cube using arduino and it’s pretty simple. Take the all 64 leds and test them to ensure that they all work using a button cell battery. The 4x4x4 led cube (arduino):
8) run the following code (interactive_led_cube_pt1) on arduino.
Solder female headers, for inserting arduino nano. The led cube is a cube made of 64 leds (blue, 3cm). The schematic of led cube is very simple. Basically an led cube is a 3 dimensional cube made out of light emitting diodes.
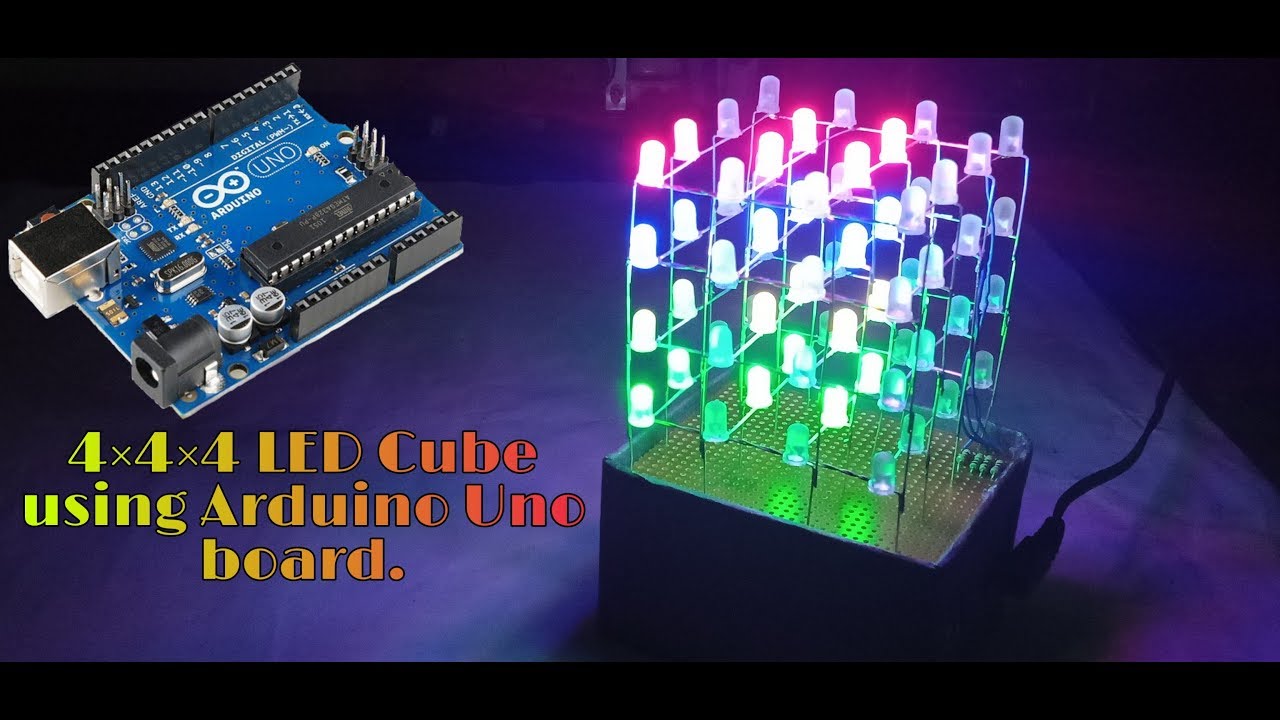
4x4x4 led cube with arduino uno and 1sheeld.
That arduino has only 14 i/o pins well also the 6 analog pins can be used as pins 15,16,17,18,19,20. In the program below you can see that the current system takes a number into either the led_on. Project tutorial by hassan ibrahim. Next, punch out all 16 led holes (grey dashed circles) using a pencil.
Make the pattern as shown in the below image on the cardboard.
Now yes you might say" This is a 4x4x4 led cube that we made using arduino. Introduction good day, as we all know, an led cube is a bunch of led that arranged in a cube shape that can perform some interesting lighting effects according to your program. It can be used as a decoration piece or used with other equipment like microphones or motion sensors for various applications.
Take a frame, and insert copper wire in the loop at negative terminal of leds.
6) run 4 wires from the resistors in your breadboard to ports 0 till 3 on the arduino. I recognized the difficulty a lot of people. The cube has 64 green leds which make up it’s 4 layers (positives) and 16 columns (negatives). Find the parts you need today
Thus, in the cardboard piece make 16 holes of the size of the led.
4x4x4 led cube easier programming. You just need to follow some simple steps to make it possible. This is the direction or the path in. Read the full article for the complete procedure.
When we uploading the code, the arduino controller registers all defined layers and columns of the cube corresponding to the adjacent.
In this tutorial i’ll show you how to make a 4x4x4 led cube for around $15.00. Ad save up to 60% in our clearance sale. The coding part of this project a little tough and lengthy. Take a square cardboard piece.
So a total of 16+4 = 20 lines are needed to make the led cube 4x4x4 work.
Insert a led into the individual holes to test the fit. In this instructable i will show you how to make a 4x4x4 led cube that will be controlled by an arduino demulionove. As we are making 4 x 4 x 4 cube, each layer will consist of 16 leds. Led cube code generator 4x4x4 arduino:
These are all wired to a arduino uno.
I have built a 4x4x4 led cube that uses every pin on the arduino uno and need a little help and insight as to how to make it easier to program. First, start by printing out my 4x4x4 led cube template and paste it to a cardboard box. The distance between the two leds is the same as the length of the led leg. Hey guys, welcome back to the techatronic.
An anduino led cube is a fantastic project;
I built a prototype of a 4x4x4 led cube circuit on a breadboard before committing it to a protoboard following the anode column/cathode layer approach with a set of current limiting resistors between the columns and an arduino controller and close the plane circuits with a set of 4 transistors in the software with an intent to only have a. Place the led cube on perfboard and solder. Technical and customer support available 24/7. As a control unit used arduino nano.
By tutorial45 april 4, 2020.
4x4x4 led cube on arduino. System april 18, 2021, 3:15am #1. 5) run 4 wires from the anodes in your breadboard to arduino’s serial ports 4 till 7. Make sure that the printing settings are set to actual size and landscape orientation.